In this blog I am going to cover the step by step instructions to host your own WordPress blog in AWS. Hosting your own blog has some advantages, you can install any plugins/themes you want and publish any content you like. Having said that it’s not for everyone. If you are a basic user better you create account in wordpress.com. I wanted to run my own blog engine, primarily because I am a techie.
Architecture for WordPress on AWS
At a minimum WordPress needs a web server, to serve your blog and a database instance, to store your blog contents. You can install both web server and the database instance in just one server. But for high availability and better backup mechanism I choose to keep the web server and database instance separate. Below is the architecture that we are going to follow. I will talk about each components in following sections.
| Service | Unit Rate | Quantity (Per Year) | Cost per Year |
|---|---|---|---|
| EC2 – Linux (t1.micro) | $0.02 per hour | 365 days * 24 hours = 8760 hours | $175.20 |
| EC2 – Data Transfer OUT From Amazon EC2 To Amazon Elastic Load Balancing | $0.01 per GB | 1 GB per month * 12 month = 12 GB | $0.12 |
| EC2 – Data Transfer IN To Amazon EC2 From Amazon RDS Using a private IP address | $0.00 per GB | 1 GB per month * 12 month = 12 GB | $0.00 |
| EBS - Standard volumes | $0.10 per GB-month | 8 GB * 12 month = 96 GB-month | $9.60 |
| EBS - Standard volumes | $0.10 per 1 million I/O requests | 1 million request per month * 12 month | $1.20 |
| RDS – MySQL - Standard Deployment (db.t1.micro) | $0.025 per hour | 365 days * 24 hours = 8760 hours | $219.00 |
| RDS – MySQL - Standard Deployment Database Storage | $0.125 per GB-month | 20 GB * 12 month = 240 GB-month | $30.00 |
| ELB | $0.025 per hour | 365 days * 24 hours = 8760 hours | $219.00 |
| ELB – Data Transfer | $0.008 per GB of data processed by ELB | 1 GB per month * 12 month = 12 GB | $0.10 |
| Route 53 - Hosted Zones | $0.50 per hosted zone / month for the first 25 hosted zones $0.10 per hosted zone / month for additional hosted zones | 1 hosted zone * 12 month = 12 hosted zone month | $6.00 |
| Route 53 - Standard Queries | $0.500 per million queries – first 1 Billion queries / month $0.250 per million queries – over 1 Billion queries / month | under 1 million queries per month * 12 month = 12 million quries | $6.00 |
| Total Cost Per Year (approx.) | $666.22 | ||
| Total Cost Per Month (approx.) | $55.52 |
My blog do not get lot of visits for now, so I went with less powerful machines and DB, to save cost. I can scale my blog when required, that’s the advantage of AWS. The current architecture allows scaling. I will cover more about scaling in next part.
Setup infrastructure in AWS
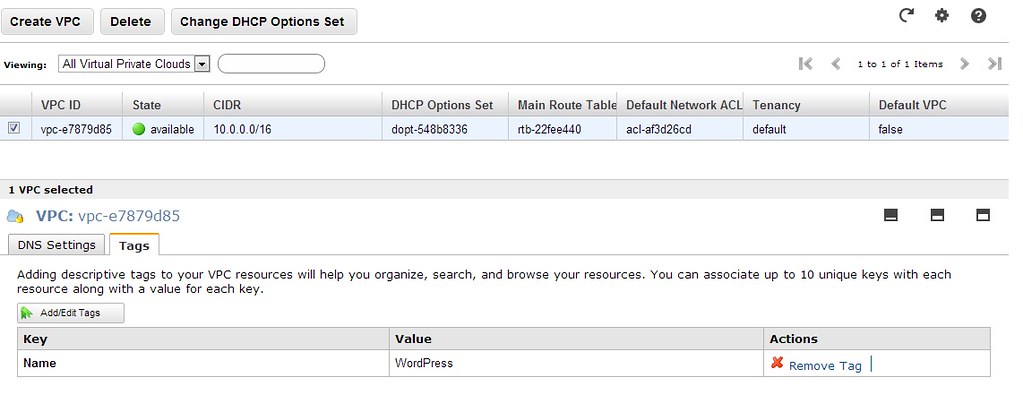
- Create a VPC with the CIDR 10.0.0.0/16.
- Create a private subnets under the new VPC. We need two subnets in different availability zones to setup RDS in a VPC.

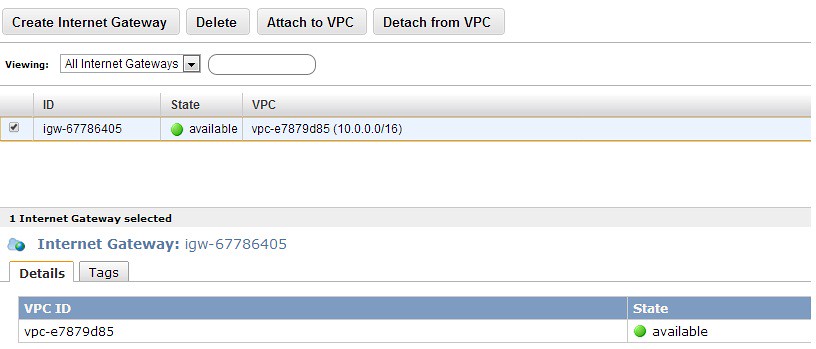
- Create an internet gateway and attach it to the VPC.
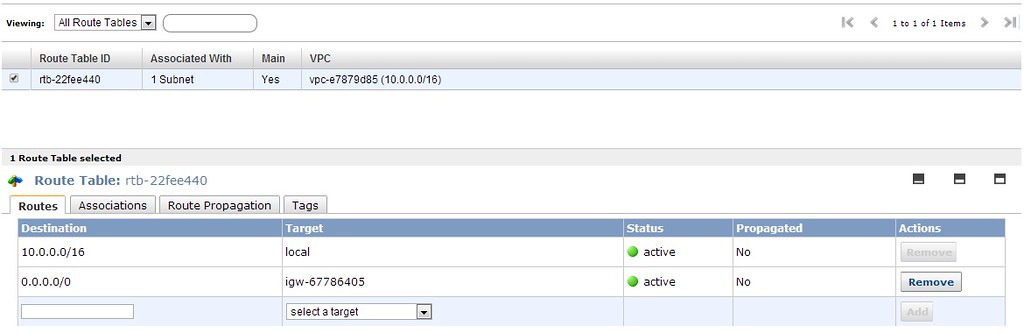
- Add internet gateway to the route table and attach it to the subnet.
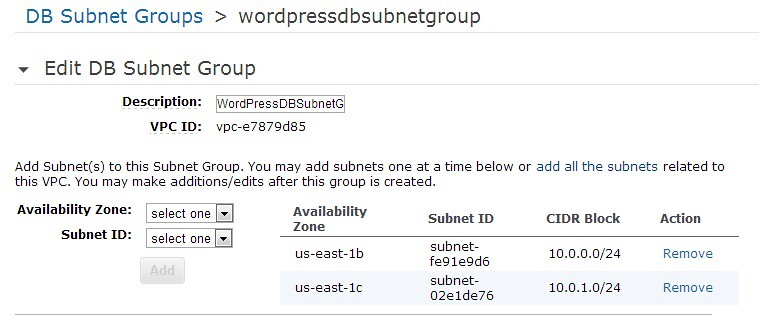
- Create a DB Subnet group with minimum two subnets each in different availability zones.
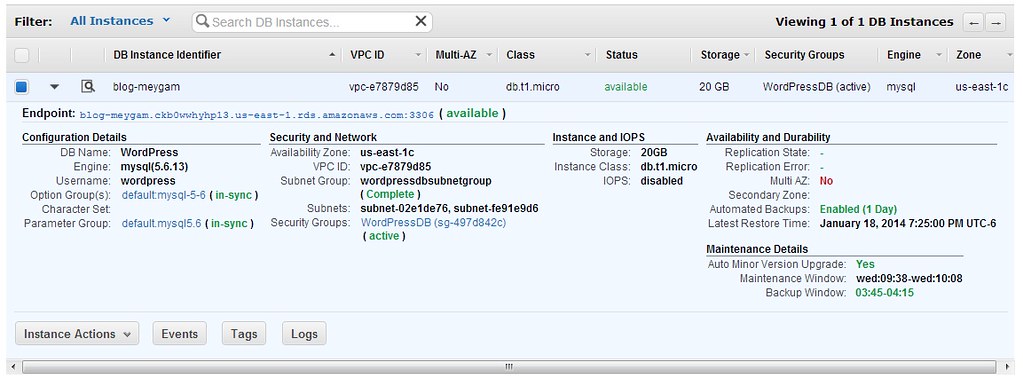
- Create an MySQL RDS instance inside the VPC, so that only the instances in the same network can connect to it.
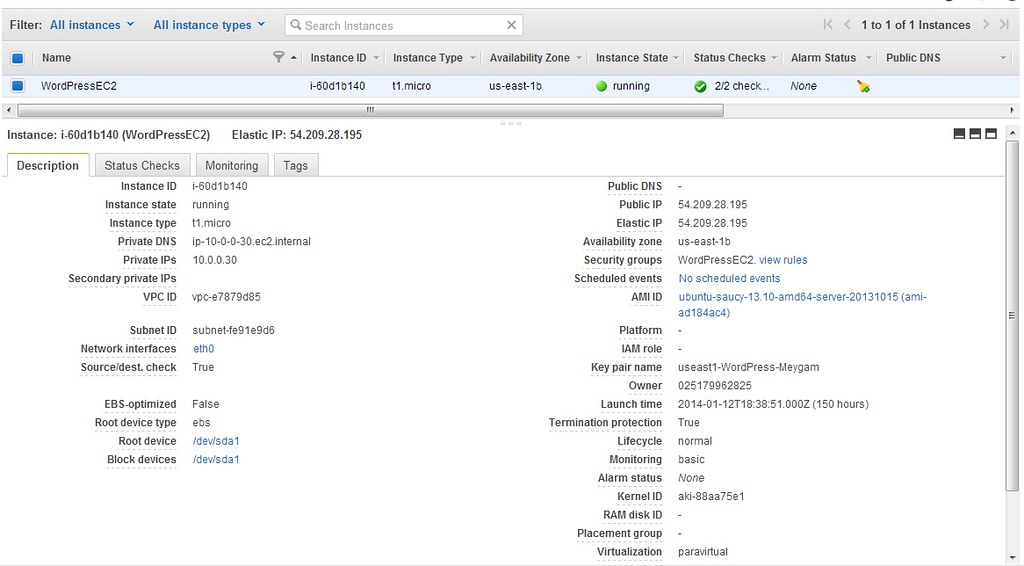
- Create an Ubuntu EC2 instance inside the VPC without any public IP, and attach it to the elastic IP, so that I can ssh into the machine.
Install php5
Now that EC2 is up and running, ssh into the machine using the private key using the command
ssh -i <<private-key.pem>> ubuntu@<<elastic ip>>
once you are in the machine, run
sudo apt-get update
to update the package list. Then install the php5, php5 fpm and php5 mysql packages using the below command
sudo apt-get install php5
sudo apt-get insatll php-fpm
sudo apt-get install php5-mysql
Install WordPress
Download and extract the WordPress using the below commands.
mkdir -p /var/www/blog.meygam.com/htdocs/ /var/www/blog.meygam.com/logs/
cd /var/www/blog.meygam.com/htdocs/
wget http://wordpress.org/latest.tar.gz
tar –strip-components=1 -xvf latest.tar.gz
rm latest.tar.gz
chown -R www-data:www-data /var/www/blog.meygam.com/
Install & configure nginx
By default Ubuntu comes with Apache2. I like to use nginx, as its more modern than Apache2. So first we need to uninstall the Apache2 & all of its dependencies using the below command.
sudo apt-get remove apache2*
Install nginx using the below command.
sudo apt-get install nginx
Create the website configuration
vi /etc/nginx/sites-available/blog.meygam.com
and add the below configuration in the file. Replace blog.meygam.com to your site name.
server {

server_name blog.meygam.com;

access_log /var/log/nginx/blog.meygam.com.access.log;
error_log /var/log/nginx/blog.meygam.com.error.log;

root /var/www/blog.meygam.com/htdocs;
index index.php;

location / {

try_files $uri $uri/ /index.php?$args;

}

location ~ \.php$ {

try_files $uri =404;
include fastcgi_params;
fastcgi_pass unix:/var/run/php5-fpm.sock;

}

}
Restart the nginx to load the configuration
sudo service nginx restart
Configure Load Balancer
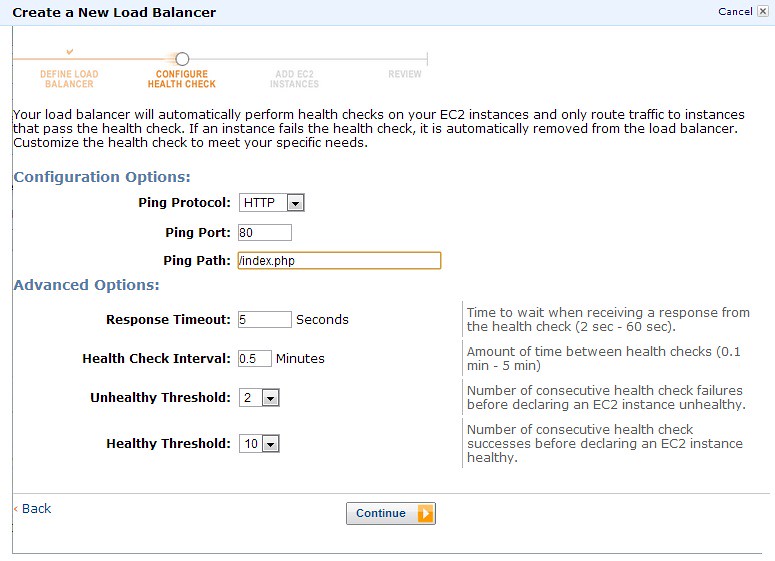
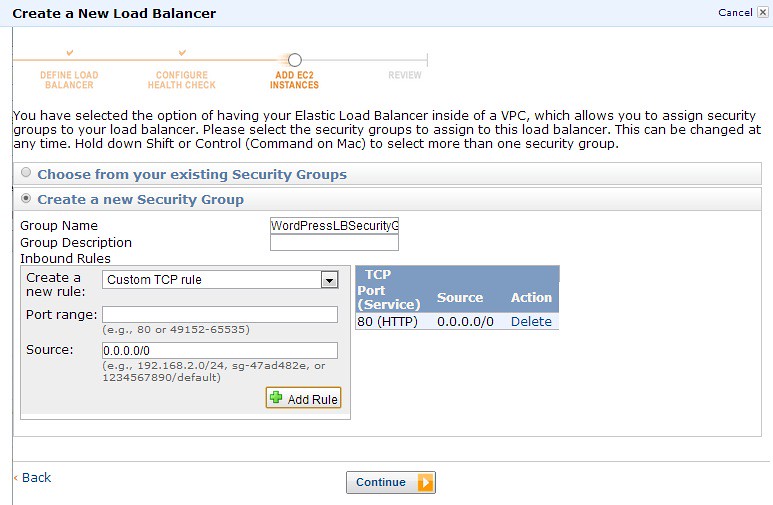
Configure Elastic load balancer (ELB) attach the EC2 instance that we created to it. Using ELB will let you scale the application later point.


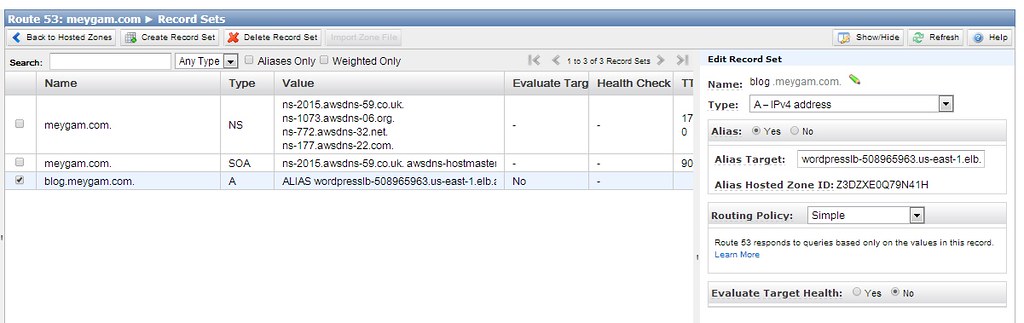
Configure Route 53
Route 53 helps to map your domain name to the elastic load balancer. Create a hosted zone for your domain, and add the Route 53 name servers to your domain register.

Add a CNAME record to point to your ELB.
Configure WordPress
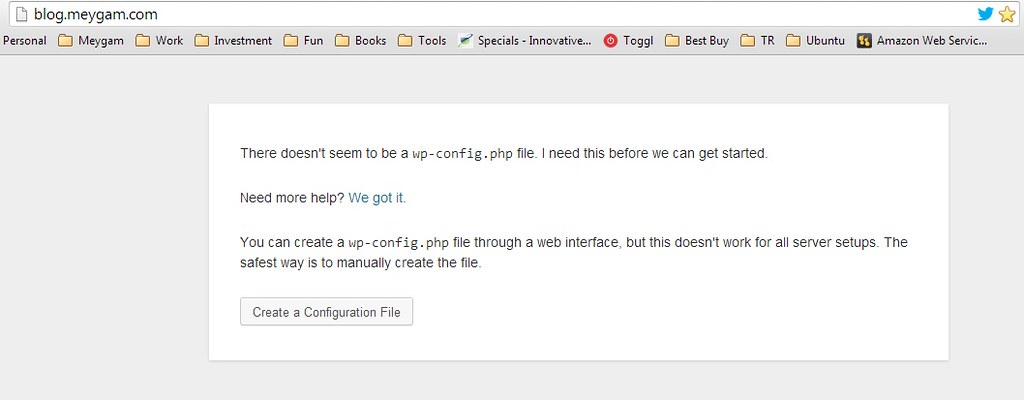
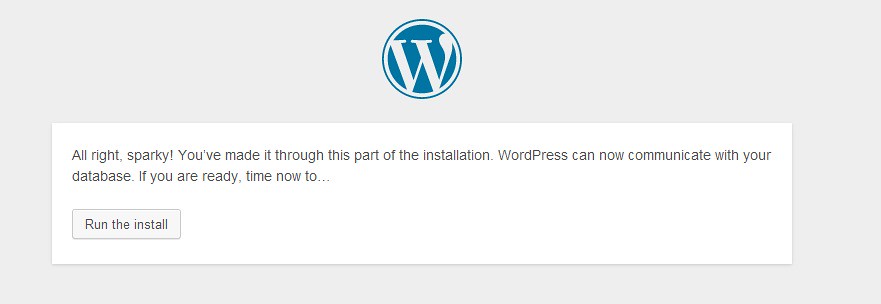
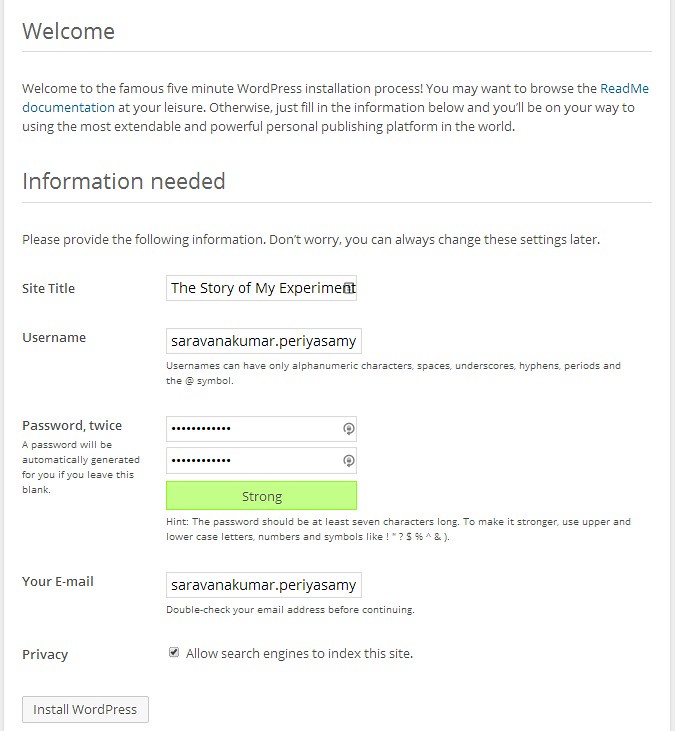
Now access your website in the browser, and you should see the WordPress configuration page. Follow the instructions and point it to the database that we created.


And that’s it, your blog is fully up & running on AWS now! Happy Blogging!